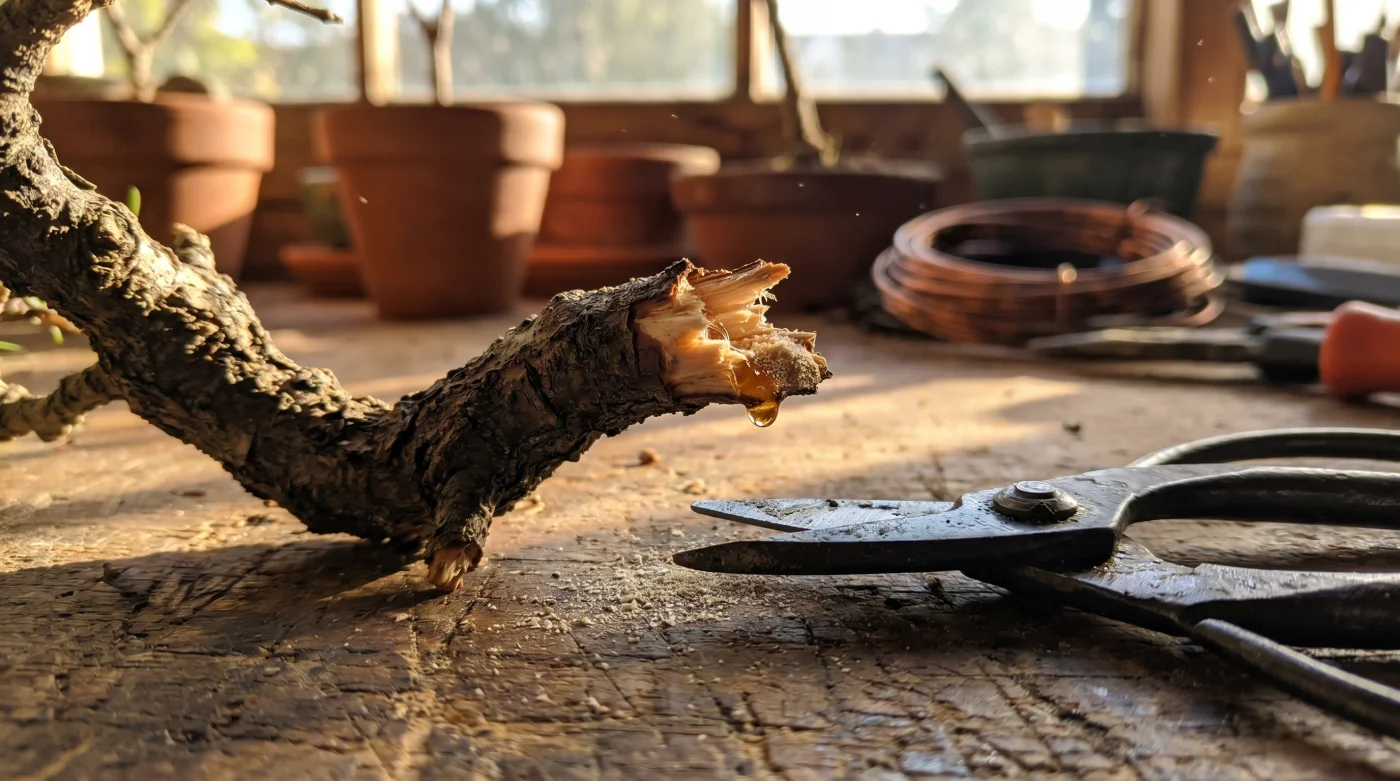
You set your bonsai on the workbench under the morning light. The soil is slightly damp, smelling faintly of river stone and peat, and you hold a brand-new pair of carbon steel shears. You line up the blades against a wandering shoot, squeeze the handles, and expect a clean, whispering slice.
Instead, you hear a sound like snapping a dry celery stalk. The resistance is heavy, awkward, and brutal. When you pull the tool away, the branch isn’t neatly severed; it looks frayed, pinched, and visibly wounded.
You assume the shears are dull or perhaps you just squeezed too slowly. So you try again on the next branch, forcing your grip harder, hoping sheer pressure will compensate. But the tree tells the exact same story.
The harsh truth is that even the sharpest tools create a bruised, weeping branch collar if applied without geometric awareness. The problem isn’t the steel in your hand; it is the invisible physics of how wood yields to pressure.
The Anatomy of a Fracture
Think of a living branch not as a solid rod of wood, but as a dense bundle of fragile drinking straws carrying moisture and nutrients from the roots to the leaves. When you bring two flat blades together perpendicular to that bundle, you aren’t slicing through it.
You are effectively flattening the straws until they burst, shattering microscopic wood fibers entirely deep beneath the bark. Cutting straight across the grain pinches the vascular tissue before the steel ever breaks the surface.
This microscopic fracture leaves jagged, crushed cell walls that invite fungal spores, pests, and severe dieback. A flat cut leaves the wound exposed directly to falling rain, acting like a tiny cup that holds moisture and promotes rot right at the vulnerable junction.
By simply tilting your wrist to create a clean forty-five degree angle, everything changes. You stop fighting the entire diameter of the branch at once. Instead, the blade meets the wood progressively, slicing through the structural fibers on a bias. This leaves an elegant, sloping wound that sheds water instantly and allows the tree’s natural callus to roll over the cut smoothly. What feels like an obsessive detail to a beginner is actually the primary safeguard of the tree’s immune system.
- Acrylic paints dry too fast unless you master this cheap additive
- Sourdough starter hydration ratios from the 1800s beat modern baking formulas
- Trading cards face major production shift after sudden grading standard changes
- Film cameras see massive market surge as digital fatigue sets in
- Drone batteries degrade rapidly without this basic temperature management trick
Marcus Thorne, a sixty-two-year-old juniper specialist working out of a foggy Oregon greenhouse, spent his first five years wondering why his ancient pines kept losing secondary branches after routine pruning. He was buying heavier, more expensive shears to force cleaner cuts. It wasn’t until an old nurseryman watched him work and tapped his wrist, tilting it downward, that Marcus understood. The blade is just a messenger, Marcus often says. The angle writes the letter. If you push straight across the grain, the tree just shuts down.
Tailoring the Angle to the Grain
Different species react differently to blade pressure. Understanding how to apply this forty-five-degree principle across your bench separates maintenance from horticultural care.
For the Hardwood Purist
Maples, oaks, and elms have dense, unforgiving grain structures. When you approach a maple branch, a flat cut will almost guarantee a nasty, noticeable dieback ring. For these, you must position the shears so the forty-five-degree slope faces slightly downward, away from the bud. This ensures that any weeping sap or morning dew runs off the back of the cut, entirely bypassing the fragile new growth below it.
For the Conifer Guardian
Junipers and pines are rich in resin, which acts as their natural bandage. However, their wood is deceptively brittle. If you crush a pine branch by cutting straight across, the resin channels become horribly blocked, forcing the sap to bleed internally rather than forming a protective cap over the wound.
You must slice these at the angle with decisive, singular motion. Do not wiggle the shears if they catch; let the geometry do the work.
For the Tropical Caretaker
Ficus and jade possess fleshy, water-heavy tissues that practically beg to be bruised. They do not snap; they squish. With tropicals, the forty-five-degree angle is about preserving the delicate moisture barrier.
A flat cut on a ficus creates a massive surface area of exposed wet tissue that dries out rapidly, killing the stem down to the next node. The angled slice minimizes the horizontal footprint of the wound, allowing it to dry and seal in hours rather than days.
The 45-Degree Discipline
Fixing your pruning technique requires slowing down. You must approach the tree not as a sculptor hacking away excess, but as a surgeon making deliberate and calculated incisions. It requires breathing, looking at the grain, and shifting your stance.
Before the steel ever touches the bark, you need to visualize the water falling away from the finished wound. If the angle traps moisture against the trunk, you have the tool held backward.
- Identify the Node: Find the healthy bud you want to preserve. Your cut will happen roughly one-quarter inch above this point.
- Set the Tilt: Rest the shears against the branch, then intentionally drop your wrist until the blades sit at a steep forty-five-degree slope.
- Align with the Bud: The lowest point of the angled cut should be on the opposite side of the branch from the bud.
- The Follow-Through: Squeeze the handles with steady, uninterrupted pressure. Do not twist the blades as they move through the wood.
Clean your blades with rubbing alcohol after moving between trees. A perfectly angled cut means nothing if you are injecting old sap and bacteria directly into the freshly opened vascular system.
The Silent Language of Healing
There is a profound quiet in doing something exactly right. When you stop crushing the branches and start slicing them correctly, the entire atmosphere of your practice shifts. The anxiety of wondering whether a branch will survive your pruning falls away, replaced by a quiet confidence in the tree’s resilience.
You are no longer imposing your will on the wood through brute force. Instead, you are working within the biological rules the tree already understands. You give it a clean wound, and in return, it gives you vigorous, uninterrupted growth.
Mastering this simple angle is an act of deep empathy for the living thing on your bench. It transforms a routine chore into a mindful ritual, where every movement of your hand leaves the tree healthier, stronger, and fundamentally more beautiful than it was before you sat down.
A sharp blade without the proper angle is just an efficient way to cause trauma. Let the geometry do the healing before the cut is even finished.
| Key Point | Detail | Added Value for the Reader |
|---|---|---|
| Microscopic Fractures | Cutting straight across crushes wood fibers and blocks sap flow. | Prevents mysterious dieback and maintains branch health. |
| The 45-Degree Angle | Tilting the shears slices through the grain progressively. | Creates a sloping wound that sheds water and heals cleanly. |
| Species Variations | Hardwoods need moisture runoff; conifers need clean resin flow. | Adapts a single technique to protect every tree in your collection. |
Frequently Asked Questions
Does the type of bonsai shear matter for this angle? Bypass shears naturally facilitate this slice better than anvil shears, but the forty-five-degree rule applies to all pruning tools to prevent wood crushing.
How close to the bud should my angled cut start? Aim to start the cut about one-quarter of an inch above the bud, allowing the slope to end just opposite the bud without damaging it.
Why is my tree still weeping sap after an angled cut? Some weeping is natural, especially in spring. The angled cut ensures the sap runs off rather than pooling and rotting the wood.
Can I use cut paste over an angled cut? Absolutely. The angled cut actually provides a better, smoother surface for the cut paste to adhere to, sealing the wound effectively.
What if I accidentally cut straight across? If the branch is long enough, sterilize your shears and make a clean forty-five-degree correction cut slightly lower down the branch.